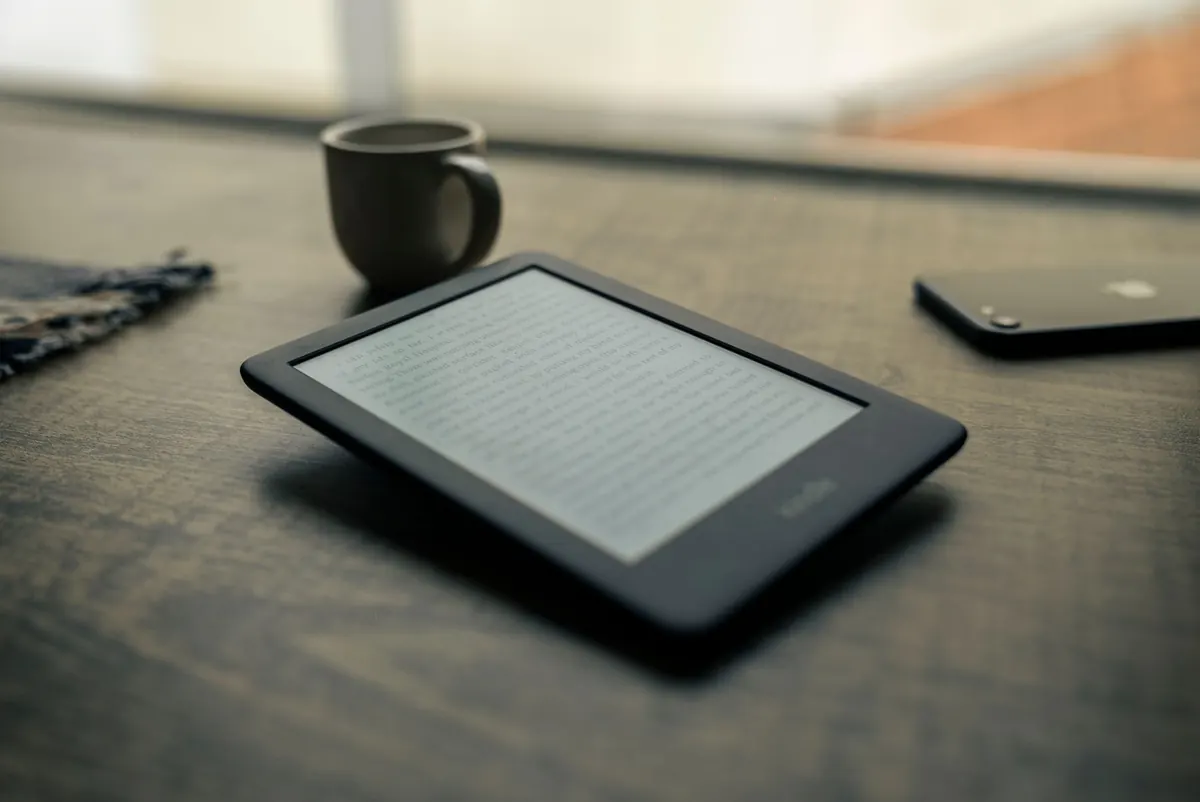
Kindle Setup for Beginners: From Unboxing to First Download
A new Kindle is a lovely thing: slim, light, and usually charged enough to switch on straight out of the box. The first fifteen minutes can still feel fiddly if you have never used one before — an account to sign into, a Wi-Fi password to dig out, text that looks far too small. The good news is that everything worth changing lives in two menus, and once you have set it up the way you like it, you will barely touch settings again.
A new Kindle usually arrives with some charge in it, but top it up properly before you start. Plug it into a USB port or a wall adaptor using the cable in the box — most current models use USB-C — and leave it for a couple of hours while you dig out your Amazon password.
The power button sits on the bottom edge on most Kindles, next to the charging port. Hold it for a second or two and the screen will show a logo, then a setup screen. If nothing happens, the battery is probably flat; give it another twenty minutes on the cable and try again.
Almost every part of setup needs an internet connection, so do this first. The setup screen will list nearby networks; tap yours, type the password on the on-screen keyboard and confirm. The keyboard is small but usable — take your time with it, because a single wrong character is the usual reason a password fails.
If your network does not appear, you are probably out of range, or the router is hiding the network name. Hotel and café Wi-Fi that asks you to accept terms in a browser can be awkward on a Kindle, so set up on your home connection and worry about public Wi-Fi later.
Once you are connected, Wi-Fi is also reachable from the quick settings panel: swipe down from the top of the home screen and tap the Wi-Fi icon. Aeroplane mode does the opposite, and it is the single best battery saver on the device.
Open Settings — the gear icon on the home screen, or the menu at the top — then go to Your Account and choose the option to register or sign in. You will type your Amazon email and password, and if you have two-step verification switched on, keep your phone nearby for the code.
If you bought the Kindle from Amazon while signed in, it may already be registered to you. If you bought it second-hand, check before you go further: Settings > Your Account should show your own name. If someone else's details are there, ask the seller to deregister the device from their account.
A Kindle still tied to the previous owner's account cannot be registered to yours, and only they can release it. Sort this out before you buy, not after.
While you are in Settings, give the Kindle a name under Device Options > Device Name. Something like "Sam's Paperwhite" makes the next stage much easier, because when you buy a book in a browser you have to choose which device to send it to.
Swipe down from the top of the screen to open the quick settings panel. This is where the controls you will use most often live.
If the menus and buttons themselves feel small, look in Settings > Device Options for a display size option, which enlarges the interface without altering your books.
Open any book, tap the top of the page to bring up the reading toolbar, then tap Aa. You will see three tabs: Font, Layout and More.
Changes apply across your books, so a few seconds of fiddling now saves repeating it later. PDFs are the exception: they keep their original layout, so you zoom rather than reflow them.
Buying on the Kindle itself is the simplest route. Tap Store on the home screen, search for the title or author, and tap Buy Now. The book downloads over Wi-Fi within seconds and appears on your home screen.
To buy elsewhere and send it across, purchase on amazon.co.uk and use the Deliver to box on the confirmation page to pick your Kindle. If nothing arrives, open the Library tab, find the cover and tap it; a greyed-out cover with a small arrow means it is waiting to be downloaded.
Library books work too. Many UK library services lend ebooks through apps such as Libby, and some titles can be sent to your Kindle — check what your local library offers before assuming a title is available.
One thing that surprises new owners: your existing Kindle books do not all download at once. The Library tab lists everything you have ever bought. Filter it to Downloaded to see only what is on the device, then tap any cover to pull it down.
Once you are actually reading, a few small habits keep everything tidy:
None of this is complicated, and most of it you will do once. Get the Wi-Fi and account sorted, spend two minutes on font and brightness, and the Kindle settles into what it should be: a device that disappears in your hand and leaves the book behind.
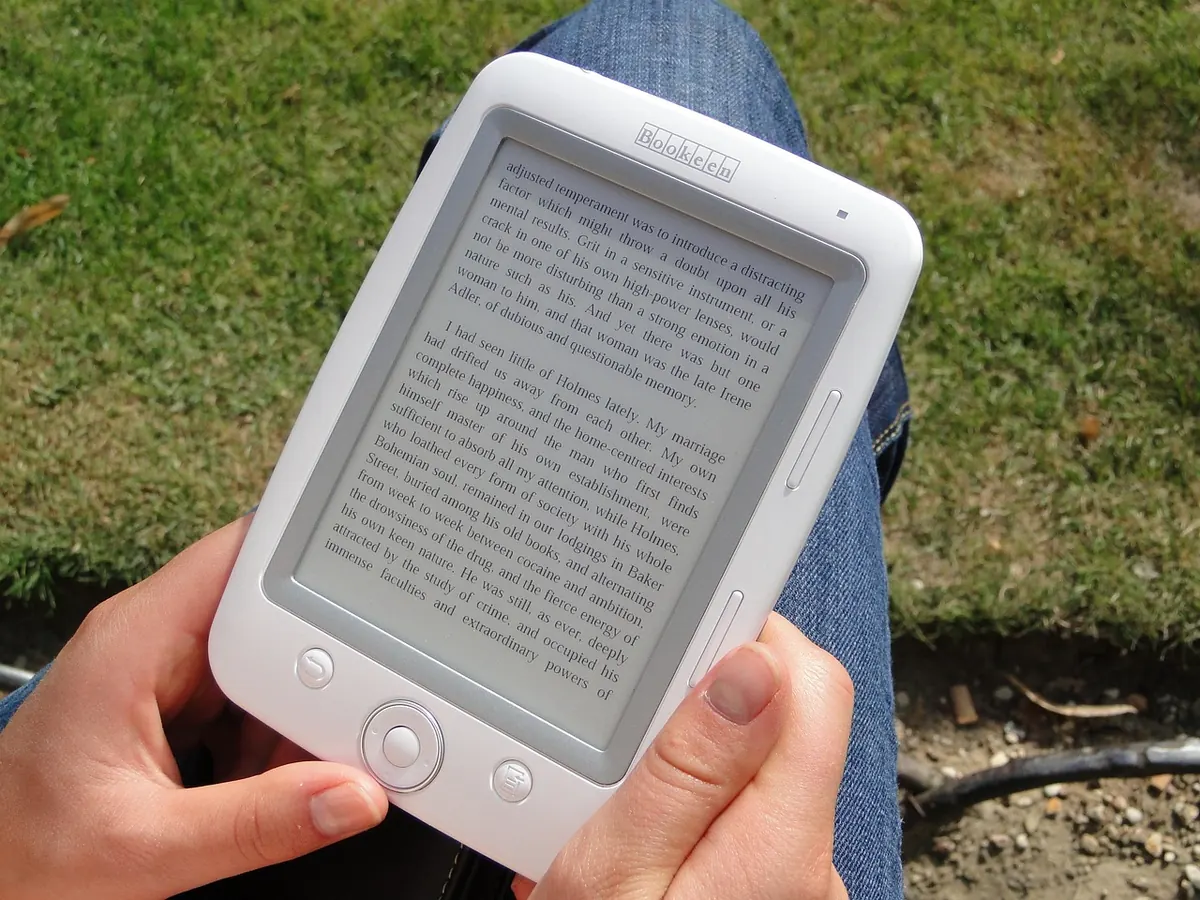
Photo: janeb13 / Pixabay
Previous Post
Kindle vs Kobo: Which E-Reader Is Best for UK Readers?
Next Post
10 Common Kindle Mistakes and How to Avoid Them